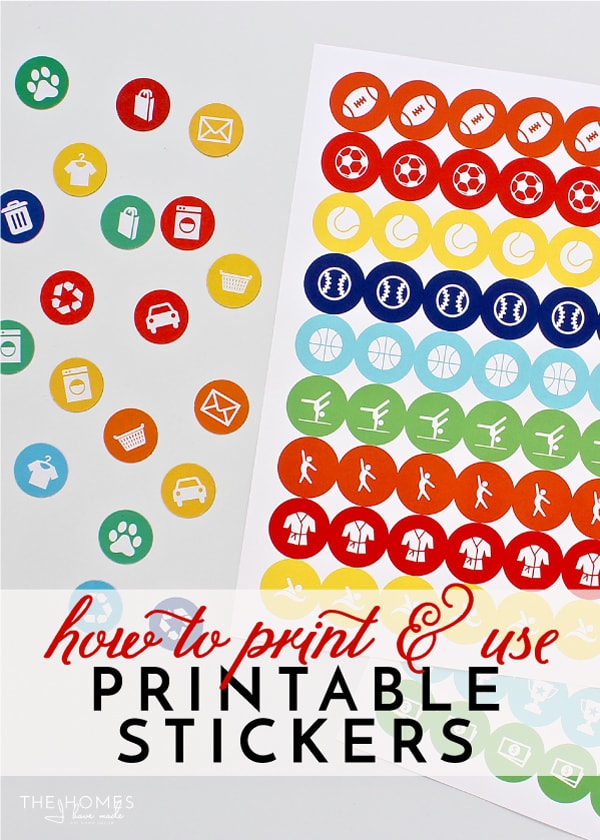
How to Print and Use Printable Stickers
Some of the very first printables I created were the Planner Stickers I shared when I first kicked off The Organization Toolbox last year. They very quickly became a fan favorite and are one of the most popular downloads in the Toolbox to date. You guys loved them, and I really enjoyed making them; so over the course of the last year I added lots of other stickers files to my collection: Planner Stickers | Kid Activity Book Stickers | Chore Chart Stickers | Recipe & Spice Stickers (as part of the Ultimate Kitchen Printable Pack) | Expanded Chore & Activity Stickers. These symbol stickers are such a fun, easy and quick way to label planners, calendars, and more; and as I’ve worked with them over and over, I’ve come up with so many ways to use them. I’ve also heard from some of you that you’ve had difficulty getting the files to print correctly, so today I wanted to share my best tips for getting these files to print juuuust right, as well as some creative uses for these files you might not have thought of! Let’s get to it!
How to Print My Sticker Files Onto Avery 6450 Labels
*affiliate links used
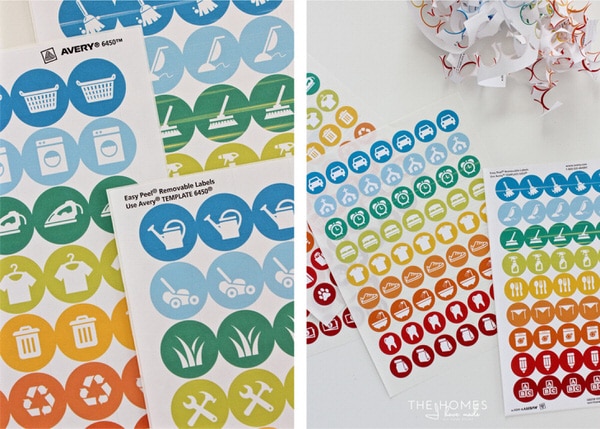
When I first stumbled upon the Avery 6450 Labels in my local office supply store, I was looking for something else. But I thought they seemed fun and had some possibilities for a project, so I snagged them. I later realized the 1″ size was a quite handy, versatile size; and the way the paper backings peeled off to reveal a sheet of stickers was very functional. I set off to make the first set of planner stickers to fit these templates and never looked back!
All of my various sticker files are designed to fit the Avery 6450 labels. I did adjust the spacing just a touch for my most recent Chore Chart & Activity Sticker release, but I have been able to get all of my stickers to print just right using these tips!
To ensure your stickers print correctly use these tips:
- Don’t open any of the sticker files in an Internet browser from an email link or download screen. Instead, download the files directly to your computer either to your Downloads folder or another designated folder.
- Once downloaded, open the files in your computer’s PDF reader (e.g., Adobe Acrobat Reader is recommended).
- Load the sticker sheets into your printer according to package/printer directions.
- Print the pages you want at 100% resolution.
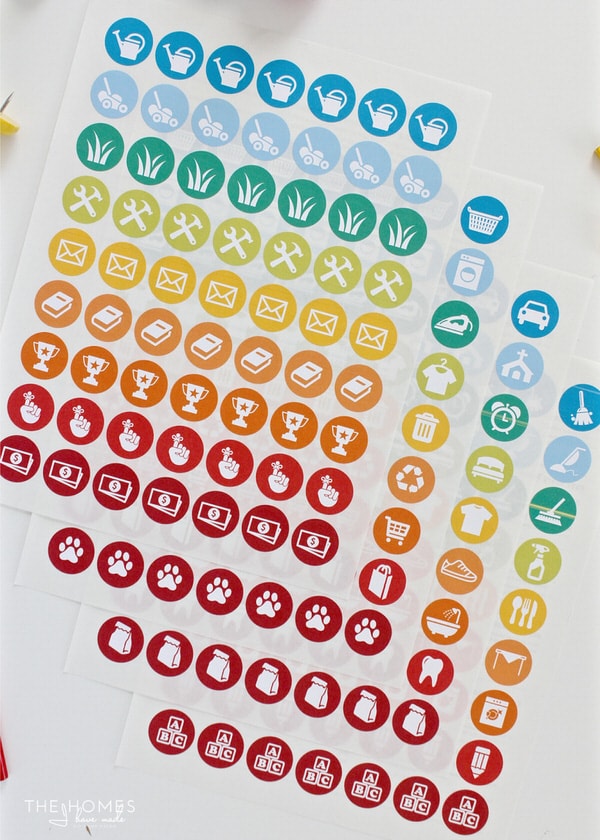
Once you print the page(s) of stickers you want, peel away the paper backing to have them ready to peel-and-stick for a variety of uses (planners, family calendar, chore charts, etc).
Cut Stickers with an E-Cutter
Although using the Avery 6450 labels is the quickest and easiest way to use these files, they aren’t your only option. Here is an easy (although a bit time intensive) alternative: print the files onto regular sticker paper
 and then cut them out with an e-cutter. It can be a little tricky to get the spacing right, so here is how I recommend doing it…
To Cut the Sticker Files Using an E-Cutter:
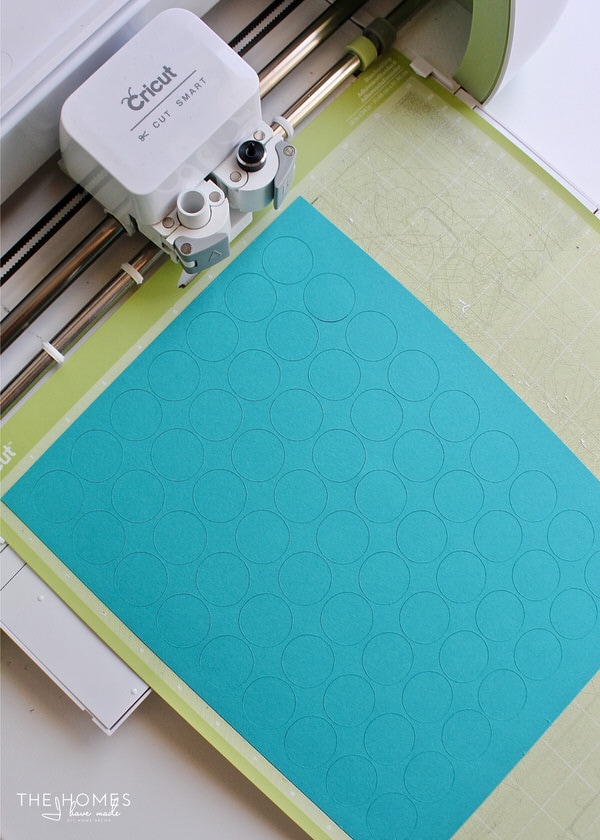
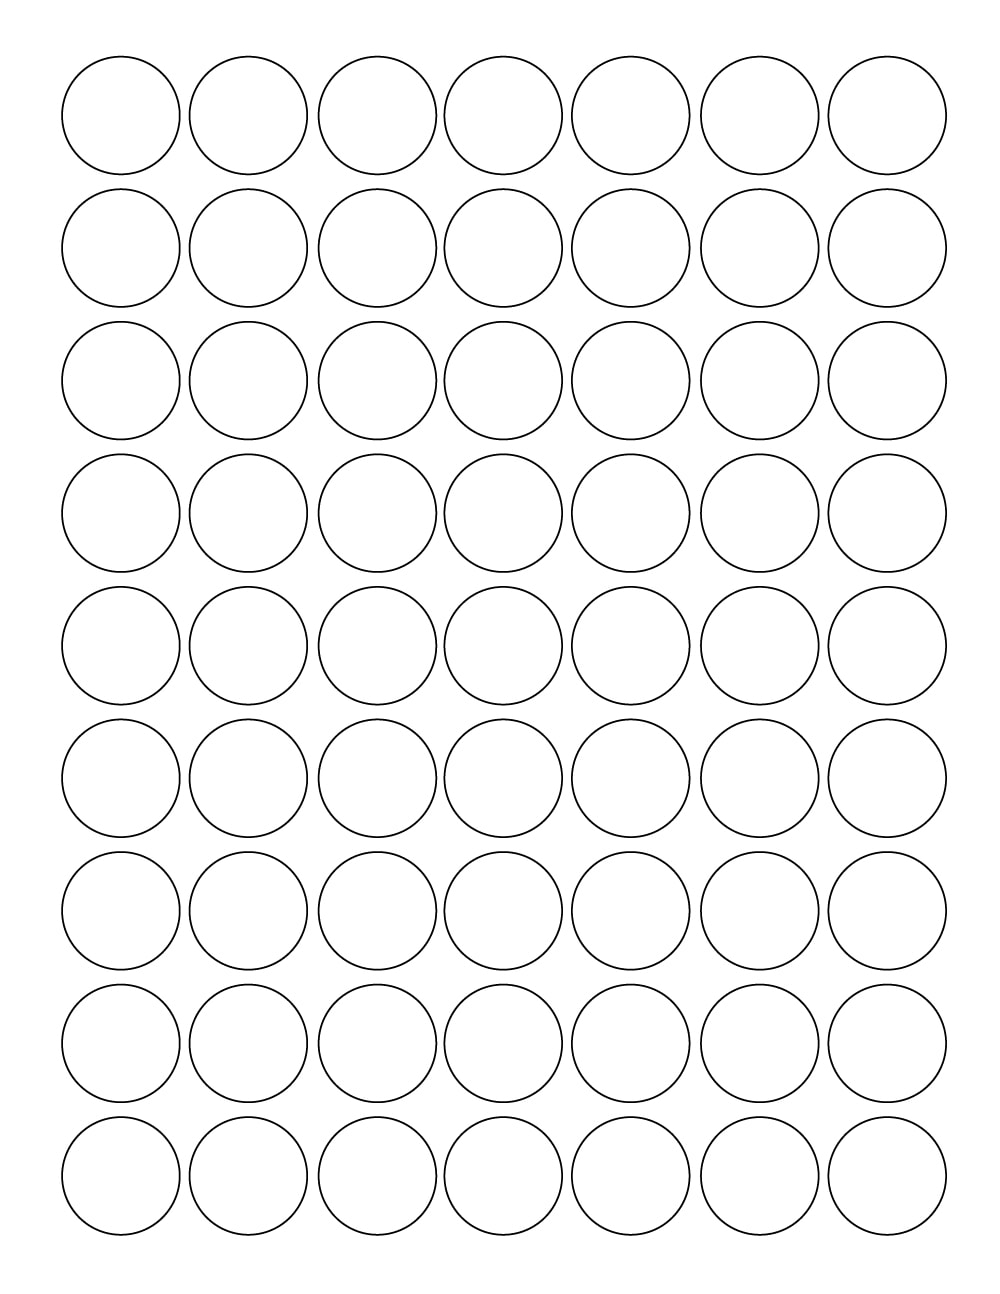
First, download THIS cut template and use THESE instructions for loading them into Cricut Design Space (or whatever online cutting software you prefer). Adjust the template so that it measures 7.5″ wide by 10″ tall. Then, load a scrap piece of paper onto your cutting mat and note its position. I have mine lined up with the upper lefthand corner of the mat grid. Send the template to be cut out of the scrap paper:
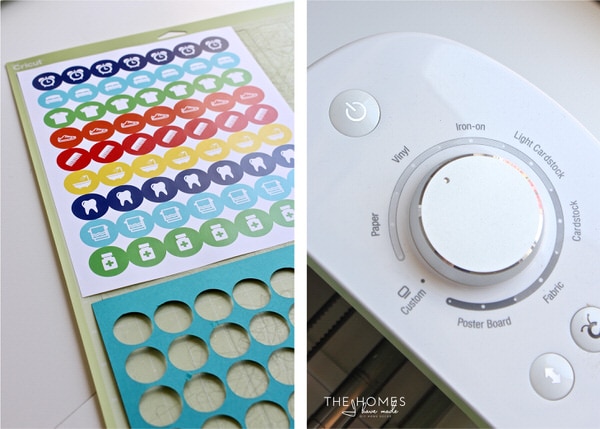
Remove the cut circles but keep the template in place on the mat. Next load the sticker file (printed onto blank sticker paper ) UNDER the template and line it up so that the sticker images are centered in the circle template. Note, your cut template shouldn’t have moved from its original cutting position.
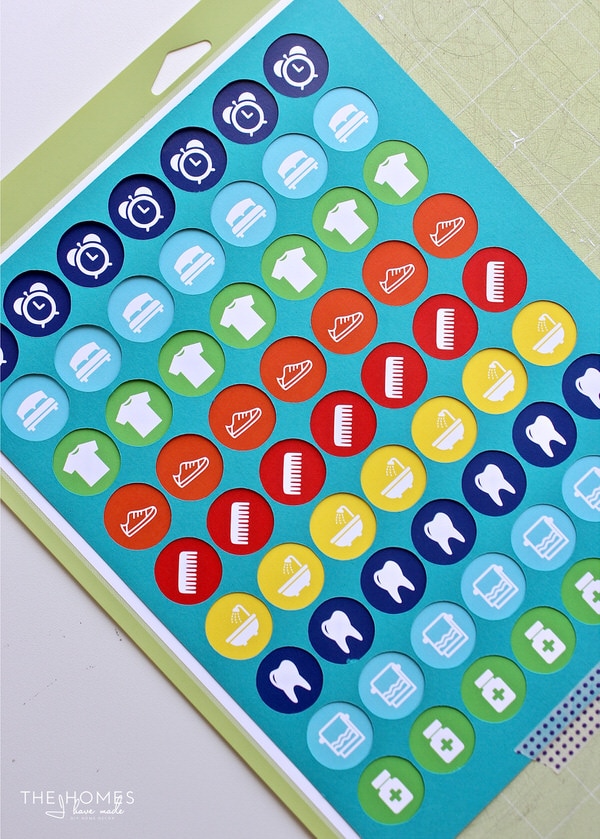
Once you have the printed sticker sheet in place, remove the circle template and send the file to be cut again, this time using the Vinyl setting.
If you lined up everything consistently, your e-cutter should cut circles onto the sticker sheet in all the right places. Simply peel back the excess paper to reveal all the stickers and make them easy to remove for use.
How to Turn the Sticker Files Into Magnets
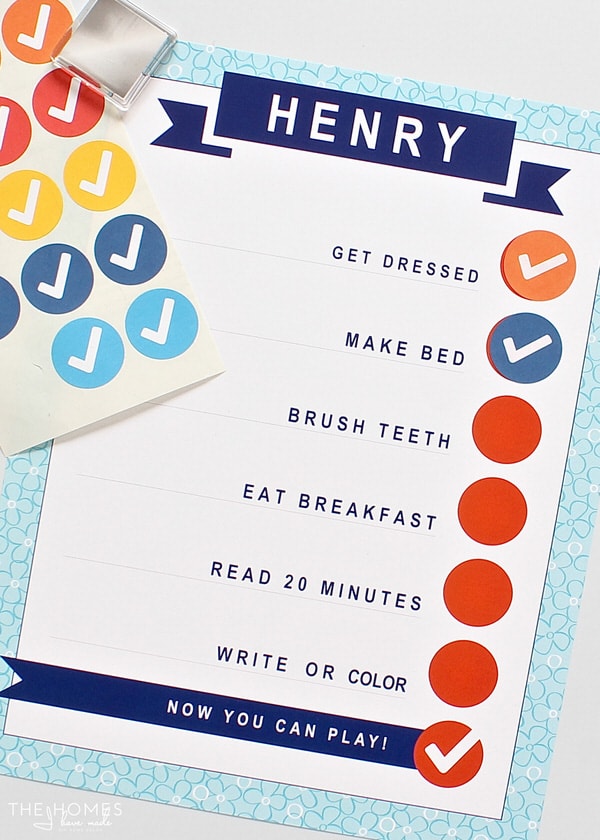
Once the files are printed and cut into stickers, then are ready to be stuck right to any calendar, planner, or chart you wish!
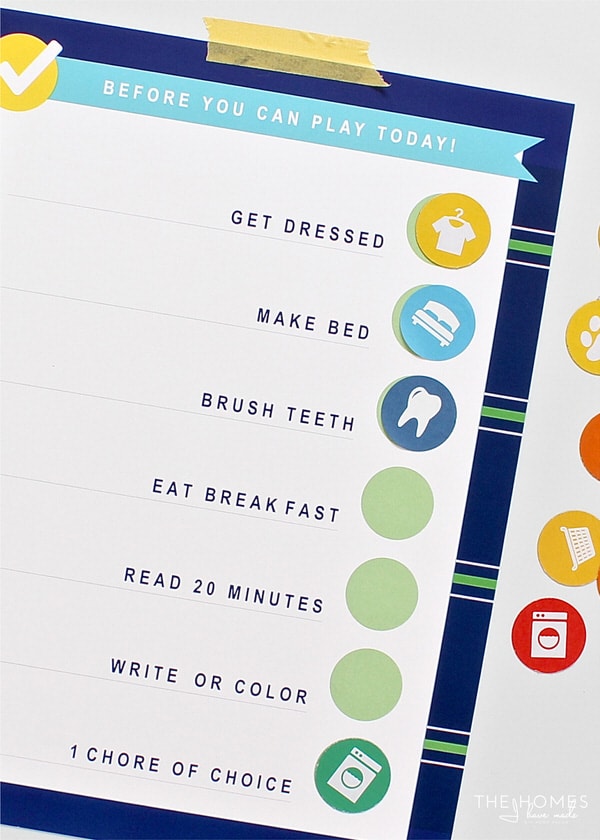
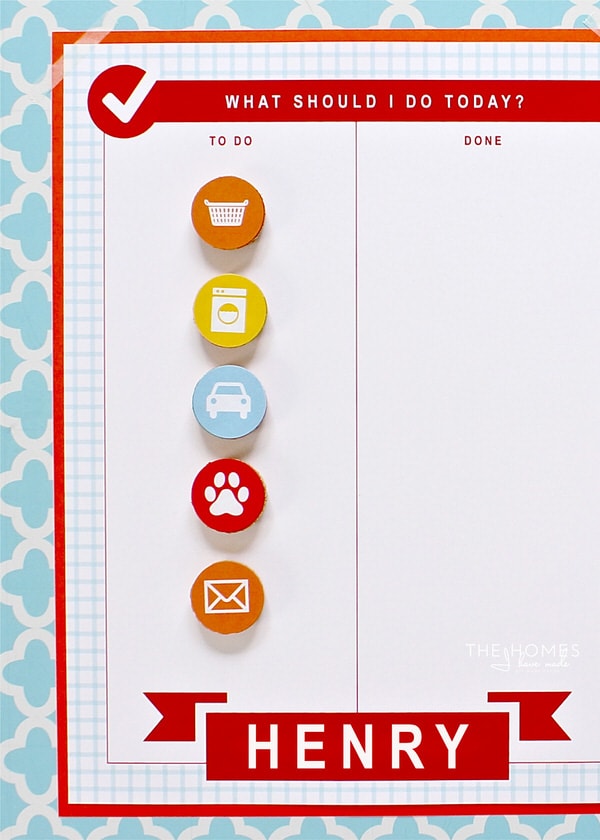
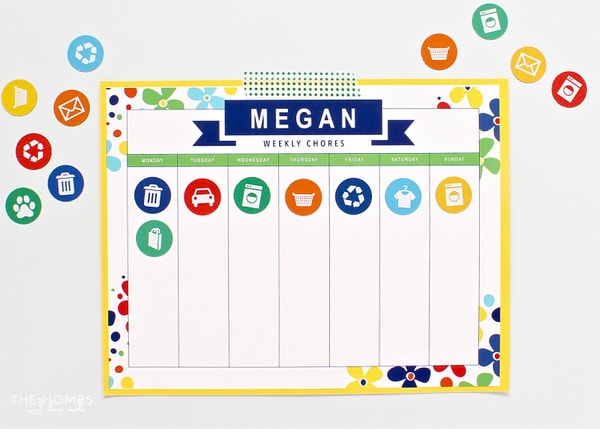
But they can also be used to make really handy magnets, which allow you to quickly and easily move various activities and chores around any magnetic surface you like (e.g., refrigerator, dry-erase board, magnetic calendar, etc).
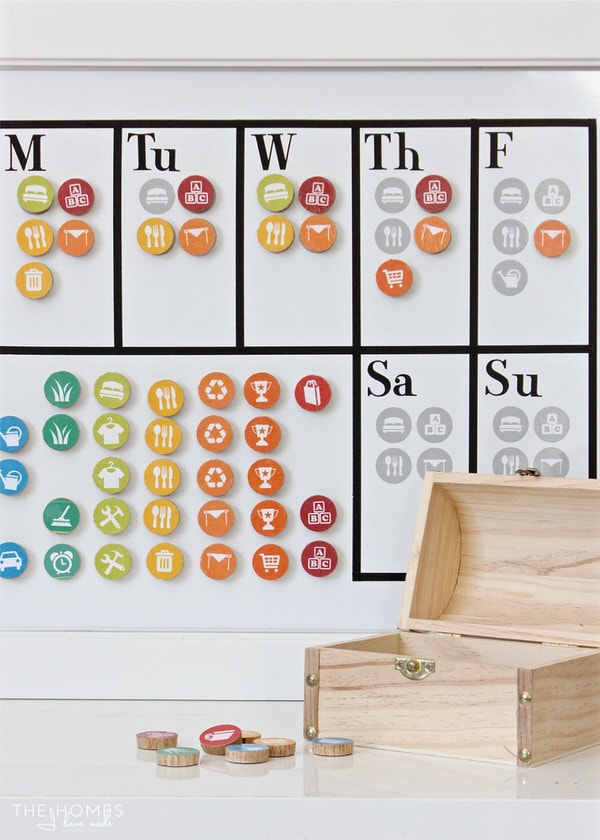
How to Make 3D Magnets:
My favorite way to turn the stickers into magnets is to stick them to wooden plugs with magnetic circles on them. You can see the full tutorial for making these magnets here.
These are great for little hands and are really fun and easy to work with.
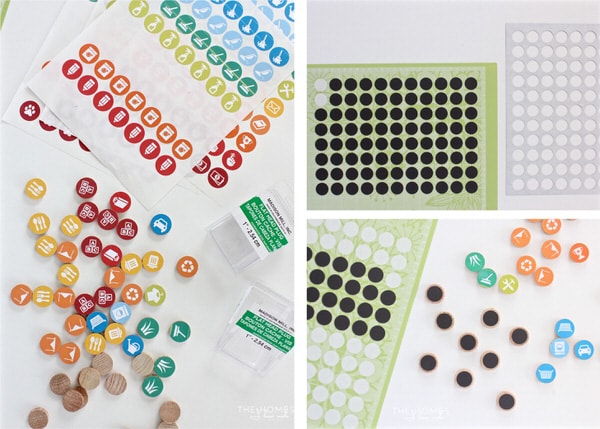
How to Make Flat Magnets:
I love the stickers turned into magnets as shown above, but I realize they require a good amount of supplies and time to assemble. So I tried making a set of magnets using my favorite magnetic paper and it worked beautifully! The flatter magnets are much quicker and easier to make (and even a little prettier)…but their flatness does make them a little bit tougher to pick up (at least for little hands!)

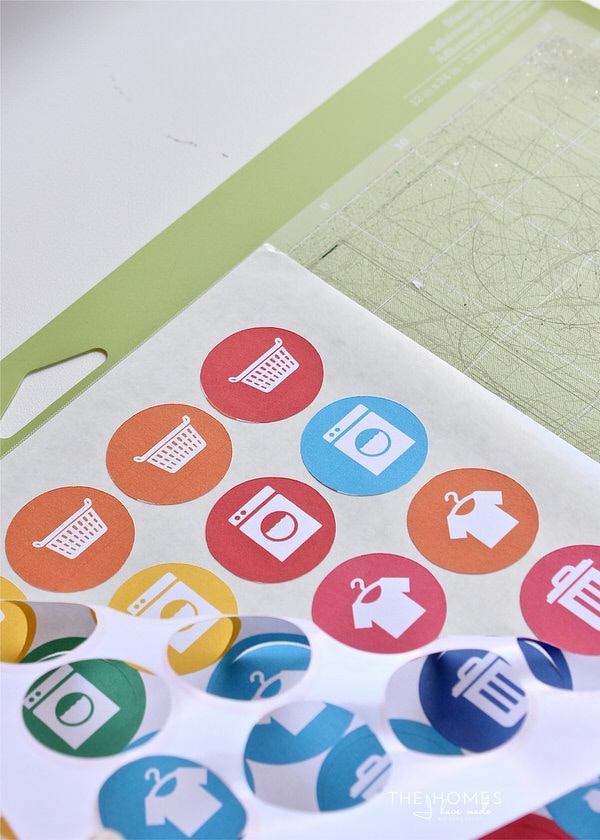
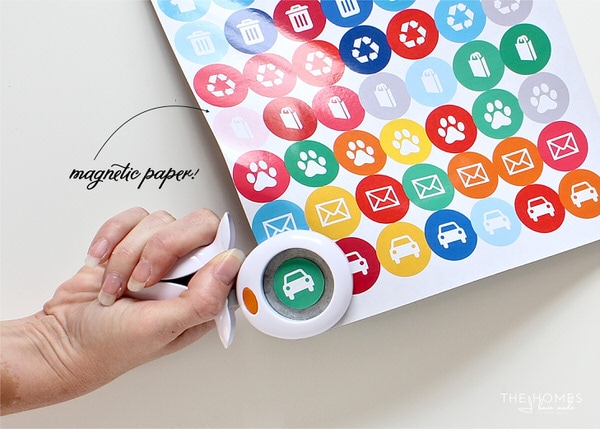
To quickly and easily transform any of my sticker files into magnets as shown above, simply print any of the files onto magnetic paper . Any kind will do, although this brand is my favorite because the glossy sheen results in very pretty, clean, saturated color!
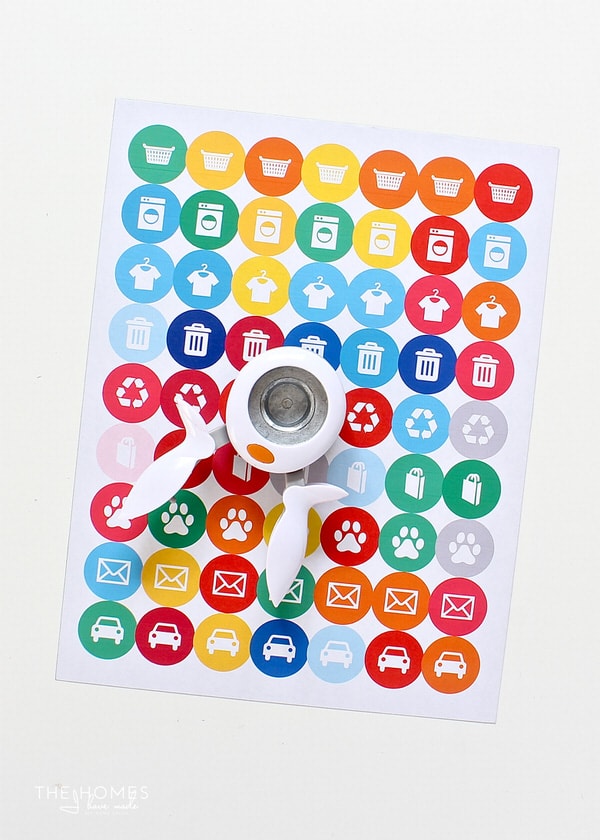
Then, use a 1″ hole punch to simply punch out each magnet. Yep. It’s that easy!
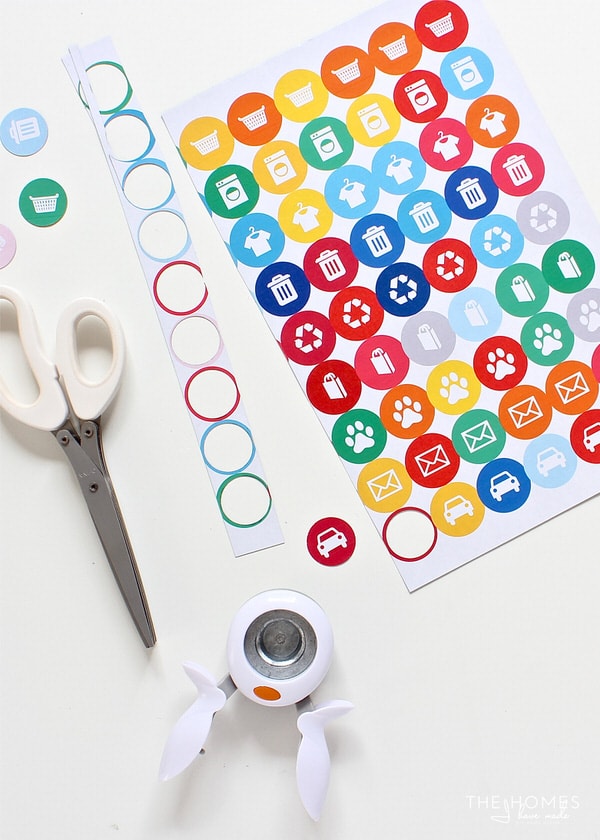
This magnetic paper cuts like butter, and I had no trouble getting several brands of punches to work. To reach each image with a punch, you may need to use a scissors to trim away excess as you work across the sheet.
I love how quickly and easily the magnetic paper makes turning my files into vibrant magnets. I’m pretty sure I’m going to re-visit my planner stickers and make them into these cute magnets for use on our family dry-erase calendar!
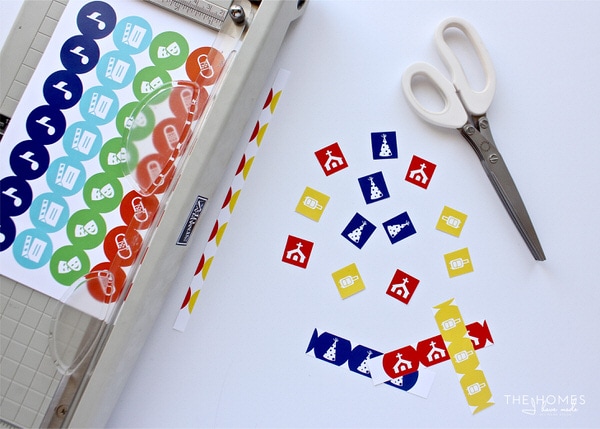
Go Square
Last but not least, don’t overlook a good ol’ pair of scissors or paper trimmer. Both the magnetic paper and solid sticker sheets can be cut with either to create stickers or magnets. If you don’t want to fuss with cutting out circles, each little symbol can be sliced into squares for use on any calendar, planner or chart!
I’m thrilled so many of you love these files as much as I do! Hopefully, this post gives you some ideas for printing and using these files in new or fun ways.
Megan

3 Comments on “How to Print and Use Printable Stickers”
What kind of printer do you have? My printer does t print nearly as well as your images.
Hi! As La K asked below, do you have a recommendation of printer that use (and affiliate link?)
Many beginners are not sure what type of inkjet printer to get and we would love your thoughts! I did not see the type of printer you used on materials/tools guide. Thank you!
Hi Holly!
Thanks so much for asking! I have all my recommended printers and printable products linked up HERE. I personally use the first printer (the HP laser color printer), but I realize that might not be the best choice for most households, so I have some other good craft printers there as well!
Hope that helios!Megan