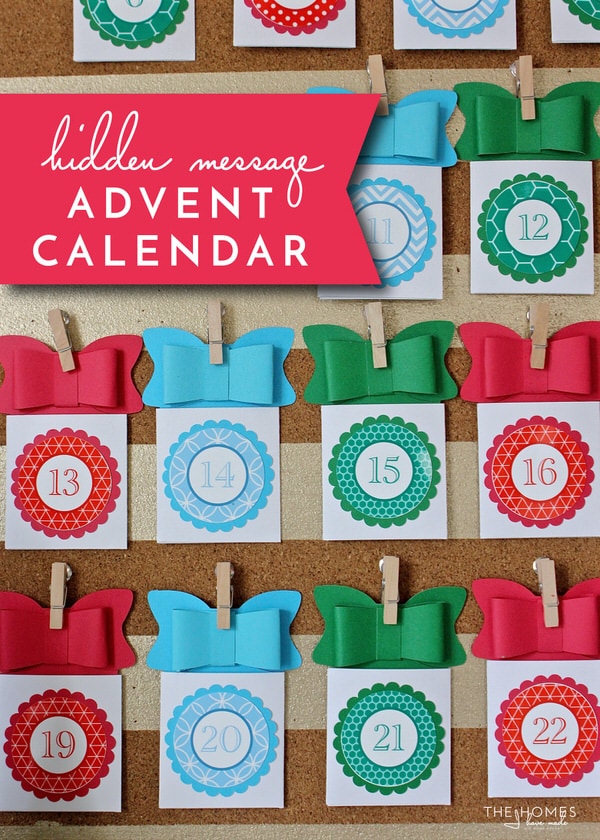
DIY Hidden Holiday Message Advent Calendar
There is something about the arrival of the holiday season that makes me want to get crafty. Even though there are about one hundred other things I should probably be doing with my time these days, all I wanted to do this past weekend was play with some pretty papers and make a fun holiday craft! Henry is already (constantly!) asking how many days there are until Christmas; and since he is now at an age where he understands the concept of an Advent Calendar, I thought it was the perfect craft to satisfy my crafting urge while getting our holiday season off and running. After waaaaay too much Pinterest surfing and brainstorming, I’m thrilled with what I pulled together for this year. There is a bit of time before December 1st, so I’m breaking it all down today should you want to make your own version too!
As I was researching various options for a countdown calendar, I came across so many great ideas. From Lego-building projects to bible versus, holiday activities to scavenger hunts, there are so many fun ways to count down the days until Christmas. However, since we are officially entering “Baby Watch” time, I didn’t want to load more things onto our plate and stress our family out with more fuss and stuff. I wanted something that would be fun and engaging for Henry but easy enough to maintain no matter what the next few weeks hold. Here is what I came up with:
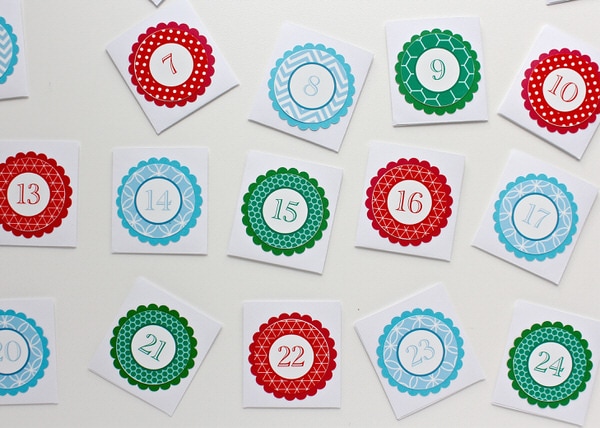
Using my Cricut Explore , I made 24 paper presents, each tucked inside a cute little paper envelope. Each envelope has a number that corresponds to the first 24 days of December.
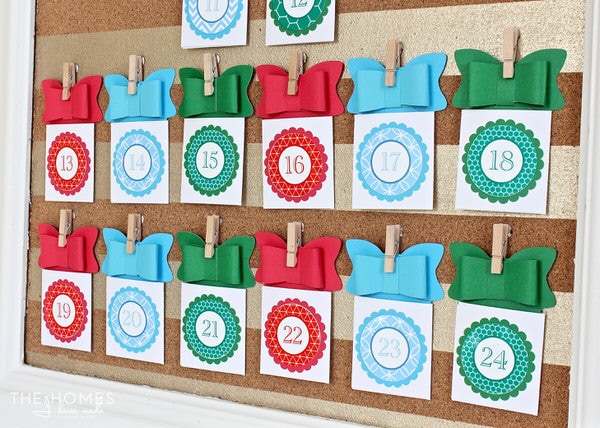
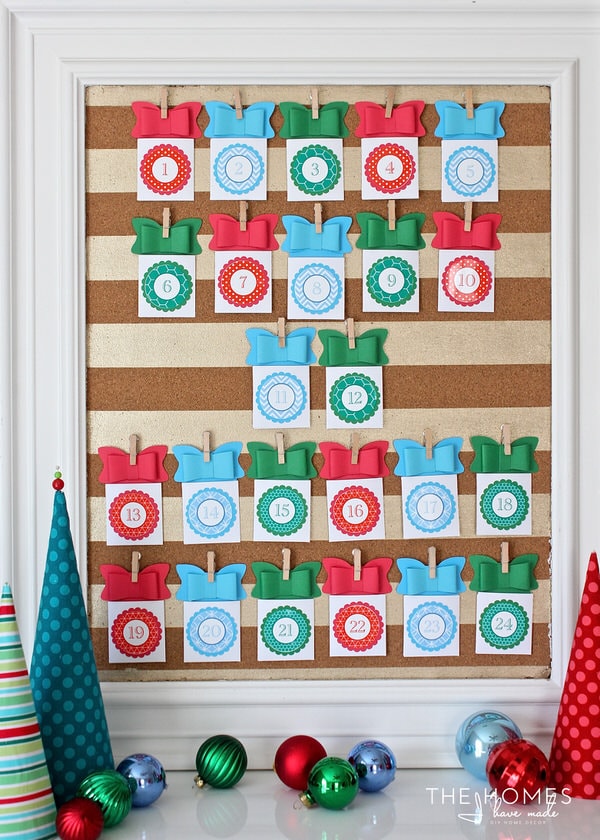
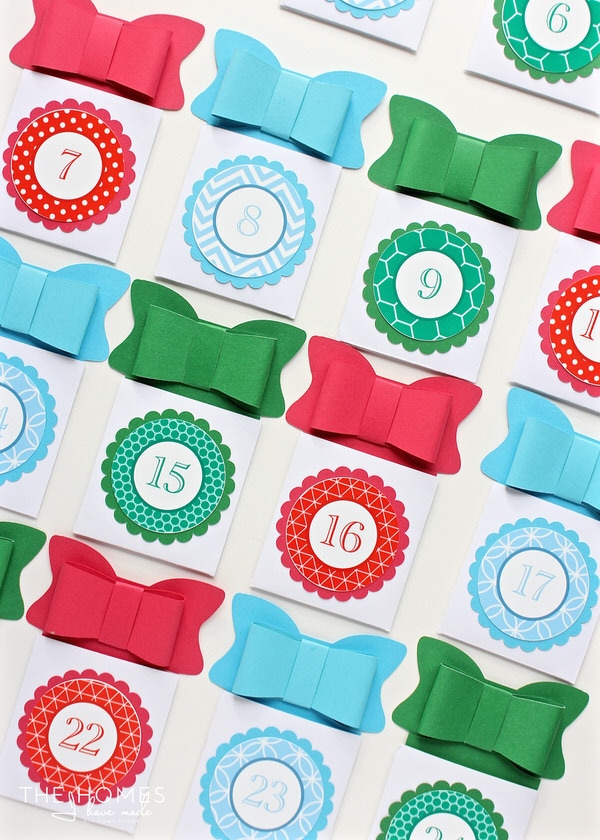
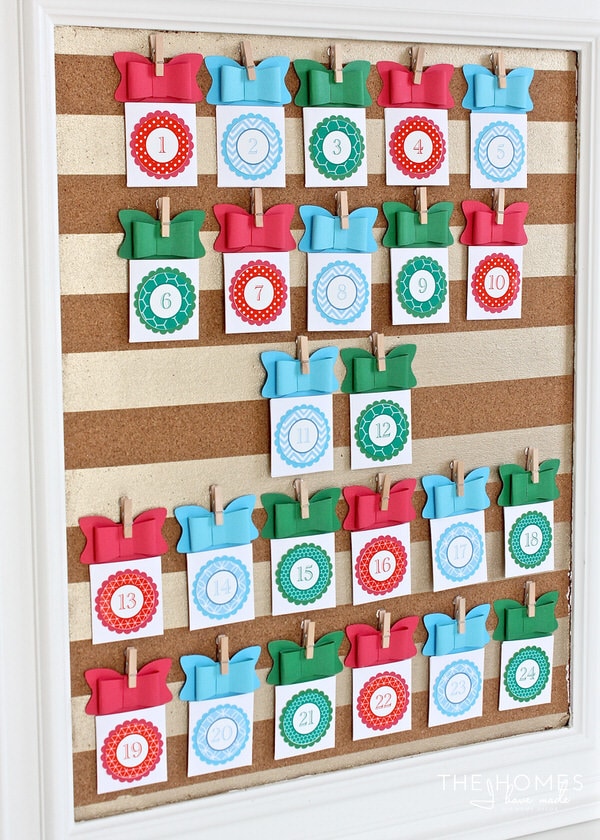
The paper presents are tacked up onto a bulletin board in a very specific arrangement.
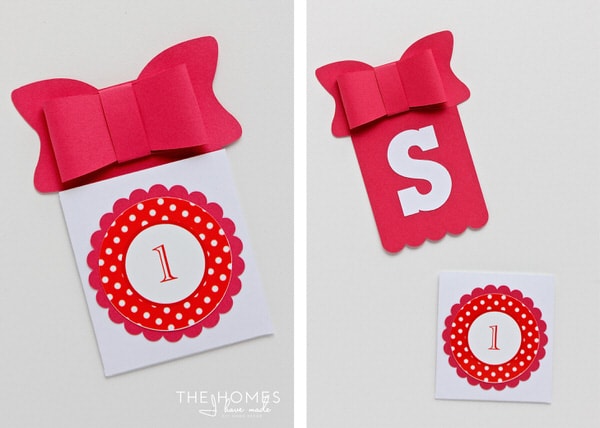
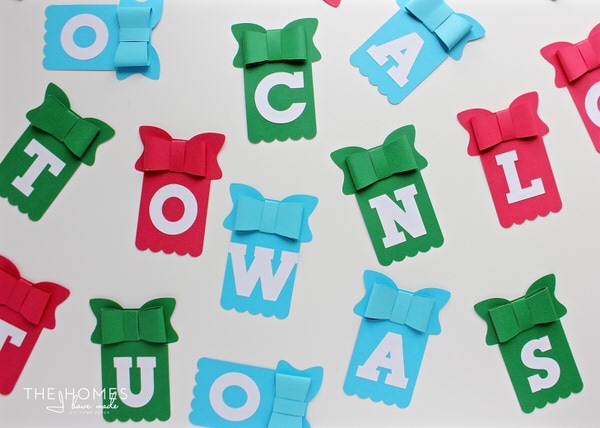
Why such a special arrangement? Because inside each paper envelop is a letter. Each day of December, all we have to do is slide off each paper envelope to reveal the letter underneath…
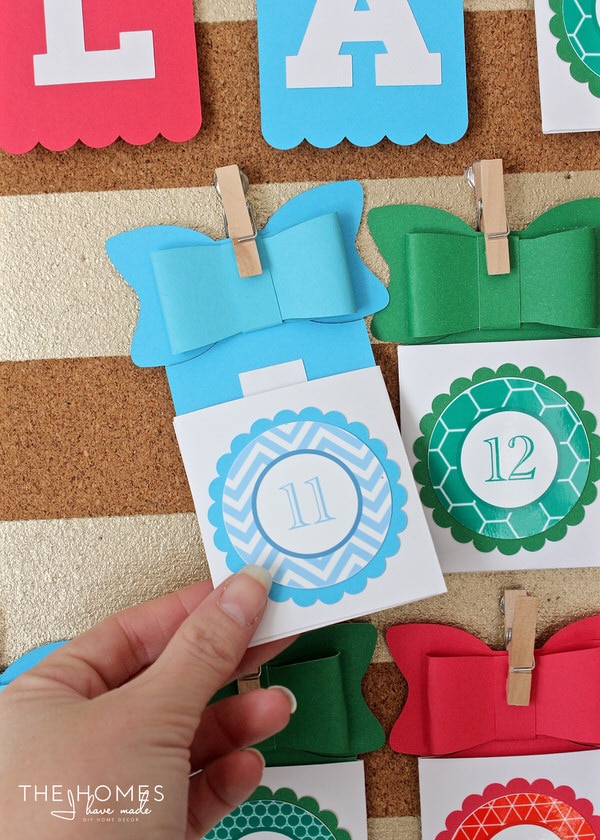
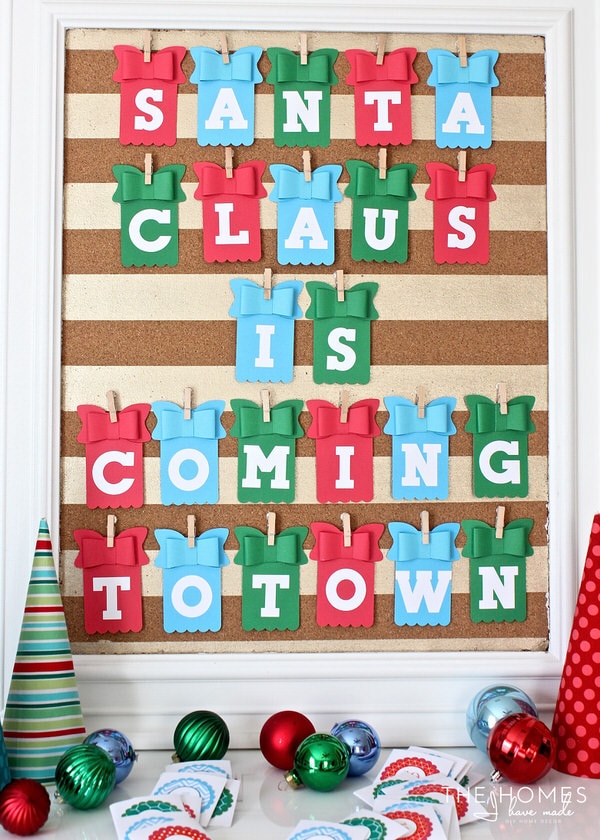
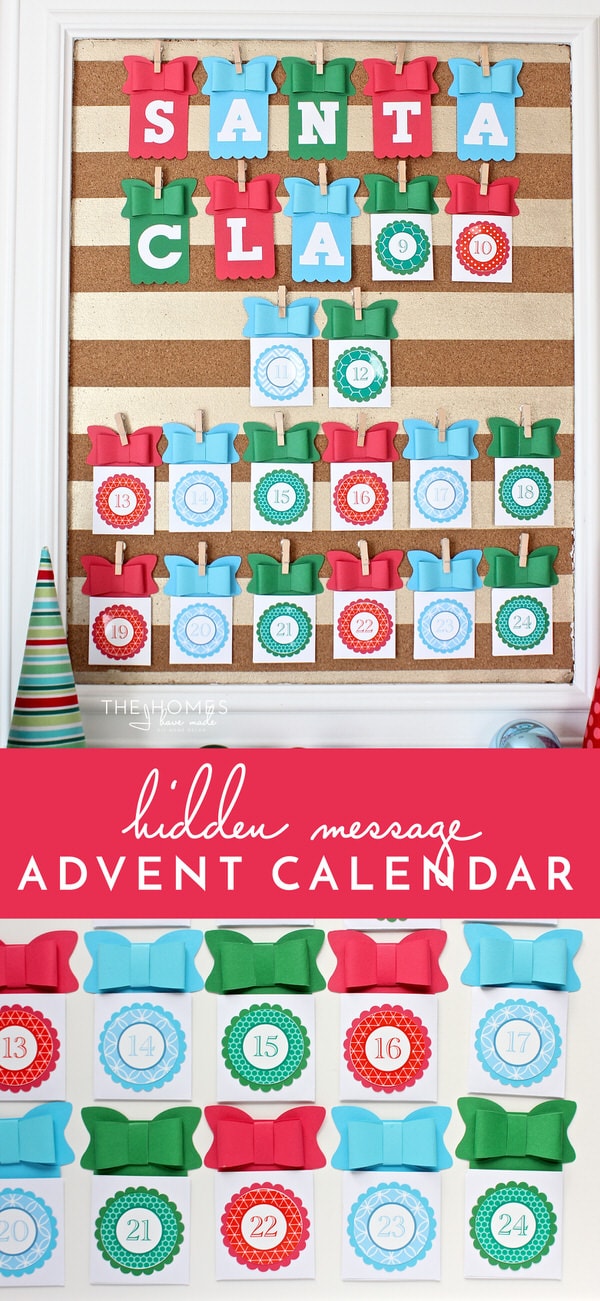
By Christmas Eve, the letters come together to create a “secret” holiday message!


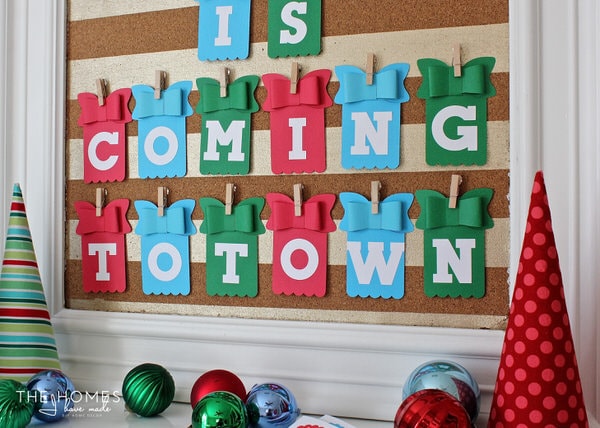
Can you figure out the message yet? If not, here you go!
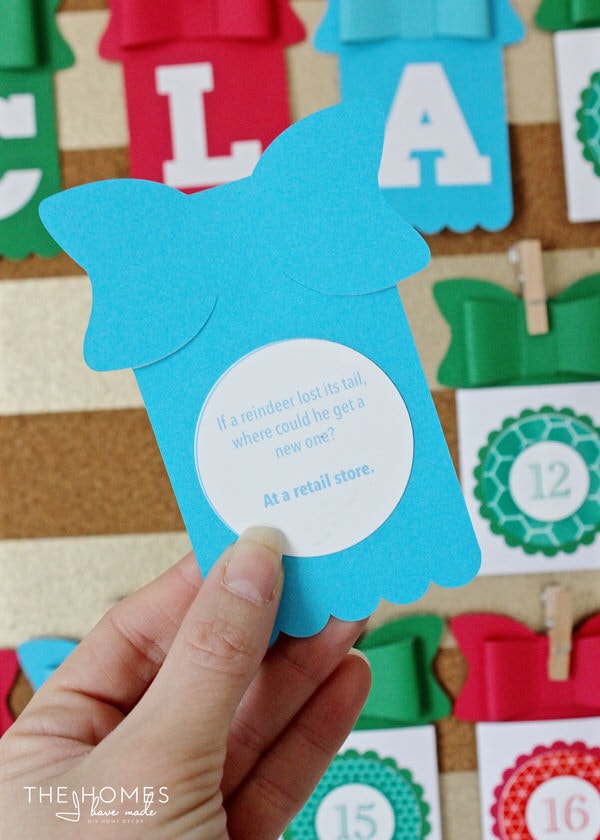
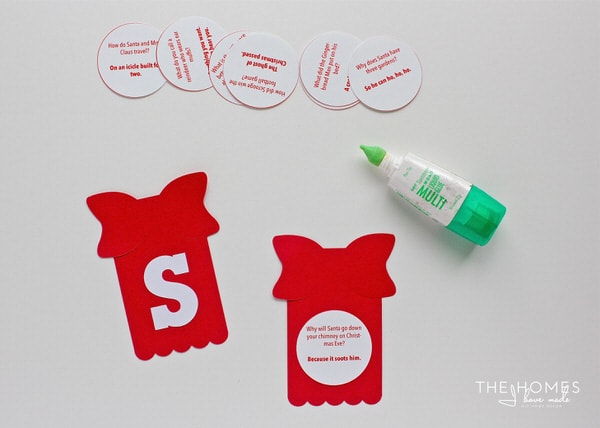
Henry is very much into words, letters, sounds, and spelling…so I am pretty certain this will be a big hit with him. However, he is ALSO very much into the jokes on popsicle sticks (even when he doesn’t understand them!) so I thought I would add a fun little addition to the back of each paper present as well! Besides revealing a letter, each paper present also has a kid-friendly Christmas-themed joke printed on the back. Not only is a letter and a joke per day totally manageable for our household right now, but it’s just SO Henry!
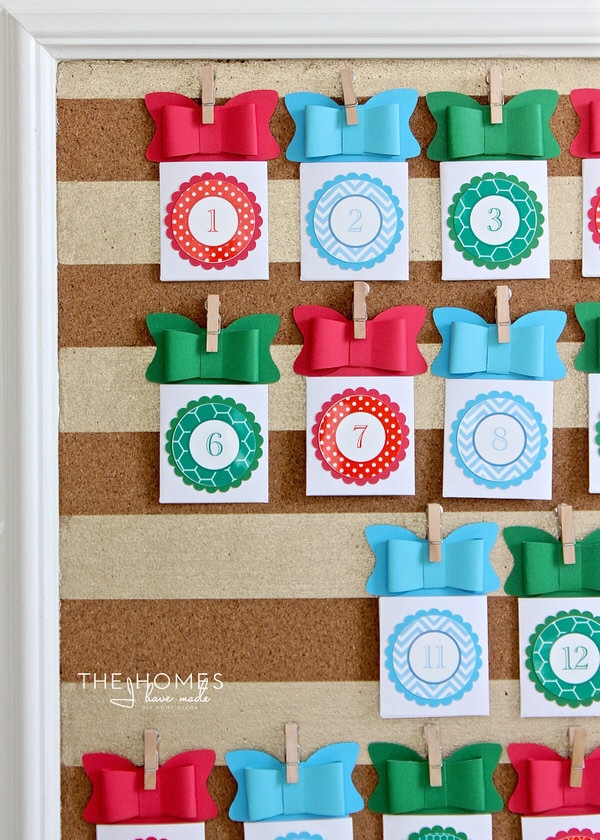
Admittedly, these little paper presents (with cute little paper bows) were a bit time intensive (lots of little pieces). But they were exactly what this Mama needed to keep her hands busy while she relaxed on the couch after a long holiday weekend!
This same “hidden message” concept could be adapted to any size/shape, but I really love that the presents are attached to the board and we just slide off each white envelop. Now that it’s made, its execution couldn’t be any easier!
What You Need
To make a Hidden Message Advent Calendar as shown, you will need:
- Cricut Design Space File
- Red cardstock (3 12×12″ sheets)
- Blue cardstock (3 12×12″ sheets)
- Green cardstock (3 12×12″ sheets)
- White cardsticj (6 12×12″ sheets)
- Photo paper or sticker paper (4 sheets)
- Cork board
- 24 mini clothespins
- 24 thumbtacks
- Tools: Scissors/paper trimmer, 2″ circle punch, Cricut Explore, craft glue, hot glue gun/glue sticks
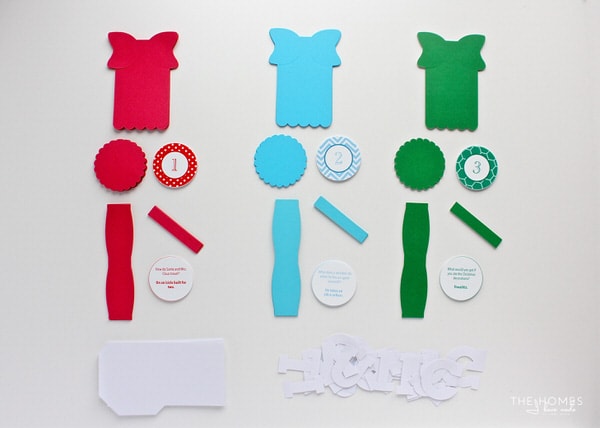
I’ll show you specifically how this whole project comes together; but if you are going to do something similar, I can’t recommend enough getting everything cut at once and planning out your colors, numbers, jokes (or whatever you’re including) and phrase before starting to assemble anything. With lots of a little parts to keep track of (including spelling out a phrase!), assembly will go much quicker if you don’t have to stop and think through it all!
Okay! Are you ready to see how cute Advent Calendar comes together? For a single paper present, here is what you’ll need: 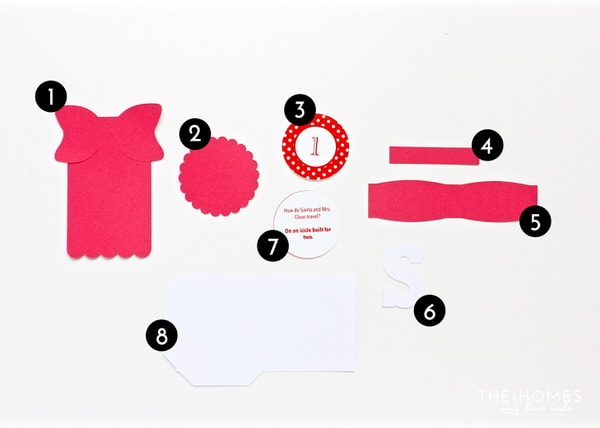
- Paper present*
- 2″ scalloped circle*
- Number tag
- Ribbon tie*
- Ribbon loops*
- Paper letter*
- Printed paper joke
- Paper envelop that fits #1*
*These images can be found in the Cricut Design Space library. If you’re interested in creating this project exactly as you see it, you can access my file here!
Making the Printed Numbers and Jokes
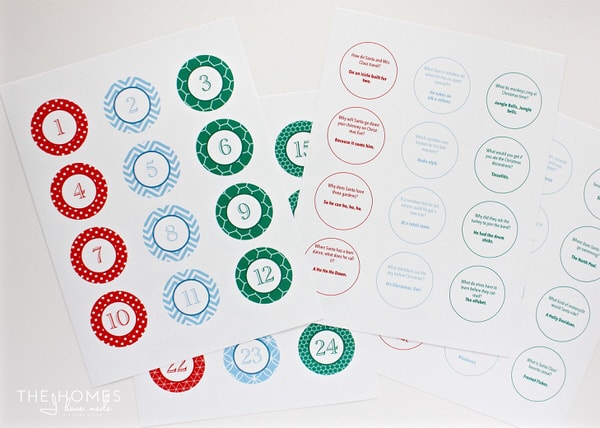
There are a variety of ways to number your little envelopes (including number stickers, numbers cut from paper or vinyl, etc). I found the easiest way was to create some circles in a computer software program and fill them with fun patterns, numbers, and jokes (you can find the kid-friendly Christmas jokes I used HERE.) Once you have your files as you like them, print out all the circles onto photo paper for a glossy and professional finish OR sticker paper to make application quick and easy!
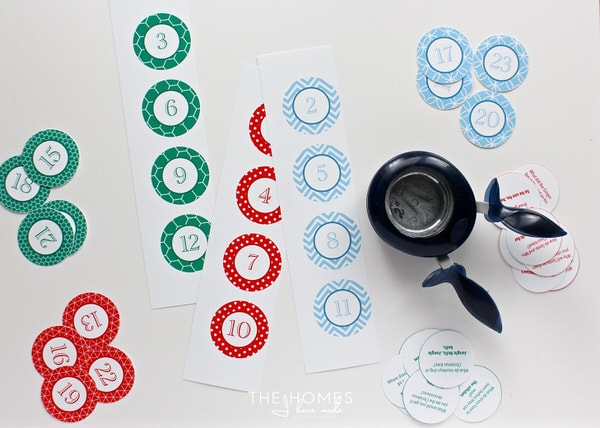
To trim the circles down to size, use a paper trimmer to slice the paper into strips, then cut each circle out with a 2″ punch. This print-then-punch method is a much quicker solution for numbering the envelopes than cutting a bunch of circles and numbers with the Cricut and gluing everything together individually.
Making the Envelopes
With the numbers printed and punched, you can start assembling each daily present! Let’s start with the envelopes.

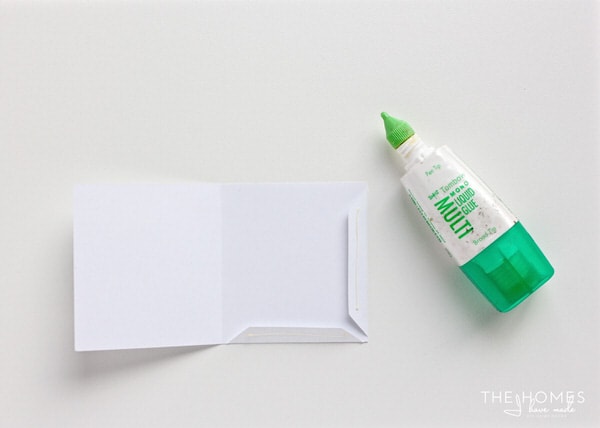
The envelope is really just a rectangle with some tabs and a fold line. Fold everything along the score lines and then secure it shut with some craft glue…
Use more glue to layer the printed number and scalloped circle onto the front of the envelope.
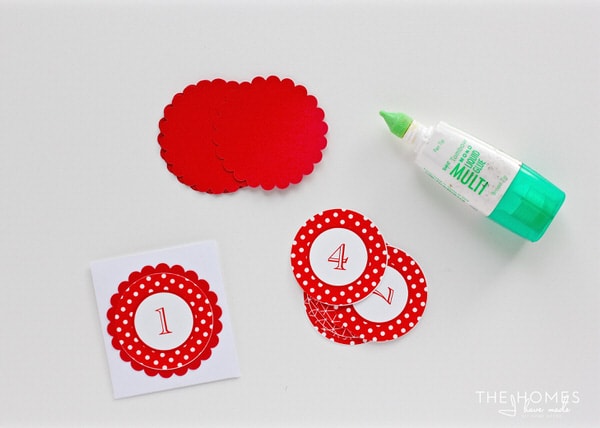
Continue with all the envelopes and numbers until you have 24!
Making the Lettered Paper Presents
On the front of each present, secure a letter with craft glue, and then attach a joke (or bible verse, activity, etc) to the back. Make sure you pay attention to your spelling (if you’re doing a phrase) and color pattern as you go!
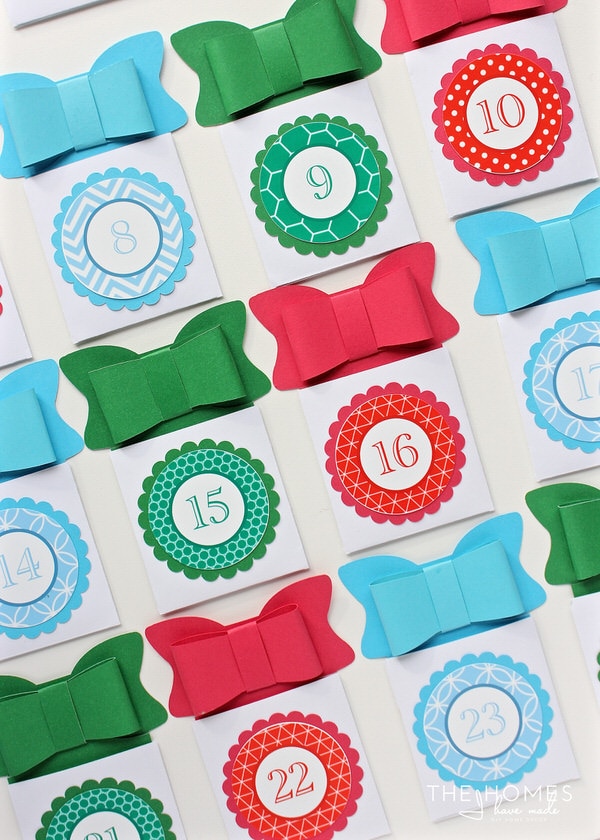
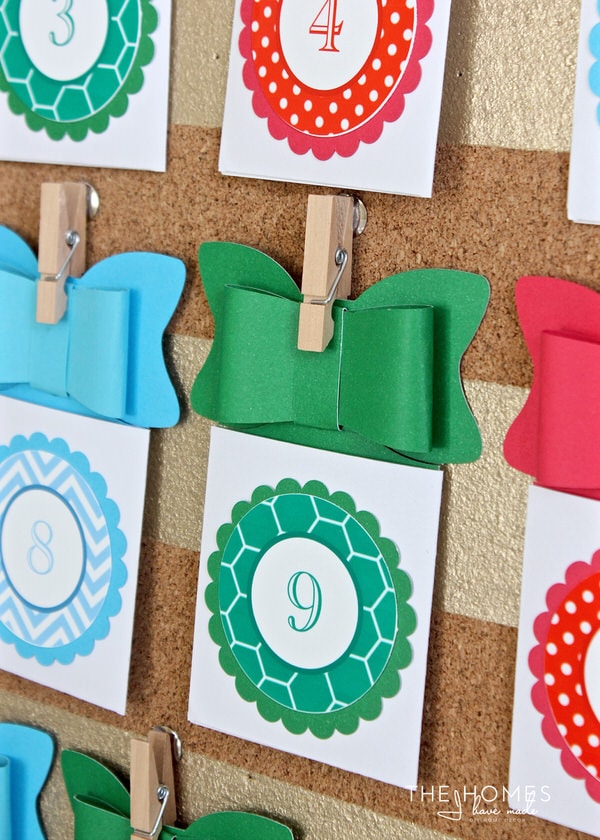
To create the 3D paper bows, fold the longer bow loops as shown below left. While keeping the two ends together, fold the ribbon tie around the middle of the bow and attach with craft glue.

Secure the bow to the front of each paper present with more glue for a fun 3D effect!

Load each letter present into the corresponding envelope to conceal your hidden message or other countdown surprises!
Securing the Envelopes
With the envelopes all made and the message hidden within, it’s time to figure out how you want to display them! You could tape them to a wall or refrigerator or load them into a basket or jar. I found securing them to my old cork board gave me the visual display I was craving while also keeping it super easy for Henry’s little hands!
To hang up our envelopes, I hot glued some thumbtacks to the backs of some mini clothespins I snagged from the Target Dollar Spot ages ago…
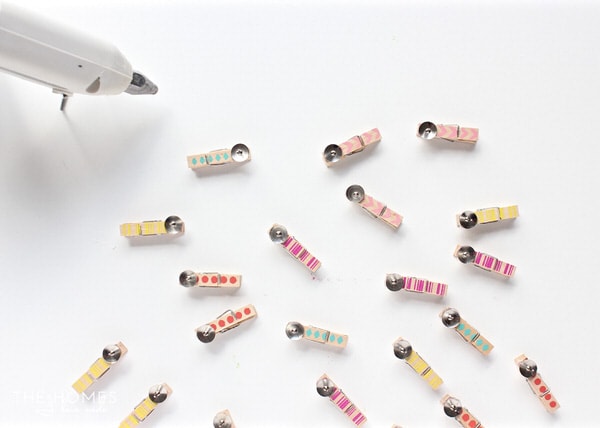
I then clipped up each envelop and pushed them right into the cork board in the formation that worked best with my hidden message.
This project was admittedly a little tedious because of all the paper pieces, but I’m so thrilled with the result and I know Henry will enjoy using it to countdown the days until Christmas. I also love how flexible this project is! You can use any paper shape/envelopes (even pre-cut ones available at craft stores or in the Target Dollar Spot!) and spell out any phrases or words you wish!
Henry hasn’t seen it yet, but I’ll be sure to update you on how it’s working out in my next coffee break post!
I’d love to hear how your family counts down until Christmas! Do you use some sort of countdown calendar? Do you do special activities or stick to chocolate? Am I the only one who gets an urge to craft this time of year? Feel free to share in the comments!
I’ll be back here on Thursday with a look at our holiday porch! See you then!
Megan

4 Comments on “DIY Hidden Holiday Message Advent Calendar”
This is so adorable! My kindergartner would love this. He is so into sounds and how the go together. Might have to do this for a Disney trip, come up with a secret message for them to figure out. Thanks for sharing your fabulous ideas!
We don’t have a traditional advent calendar. I keep thinking I will put something together, but then it becomes December and I get way too busy with all the things I think I should be doing to make a perfect Christmas instead of just spending the time with my family. Stressed mom isn’t happy mom. Sometimes you just have to let go some of the grand plans and enjoy the moment. Maybe I should start doing these crafts in July….
Oh my goodness, this is so stinkin cute, I adore it!!! I really need to get a Cricut – well done!!!
So adorable! I love this! I need this for my kids the link for the shapes and design on cricut design space isn’t working. Is there a way you could re link it?
How fun. Wish I had more grandkids to make these for.