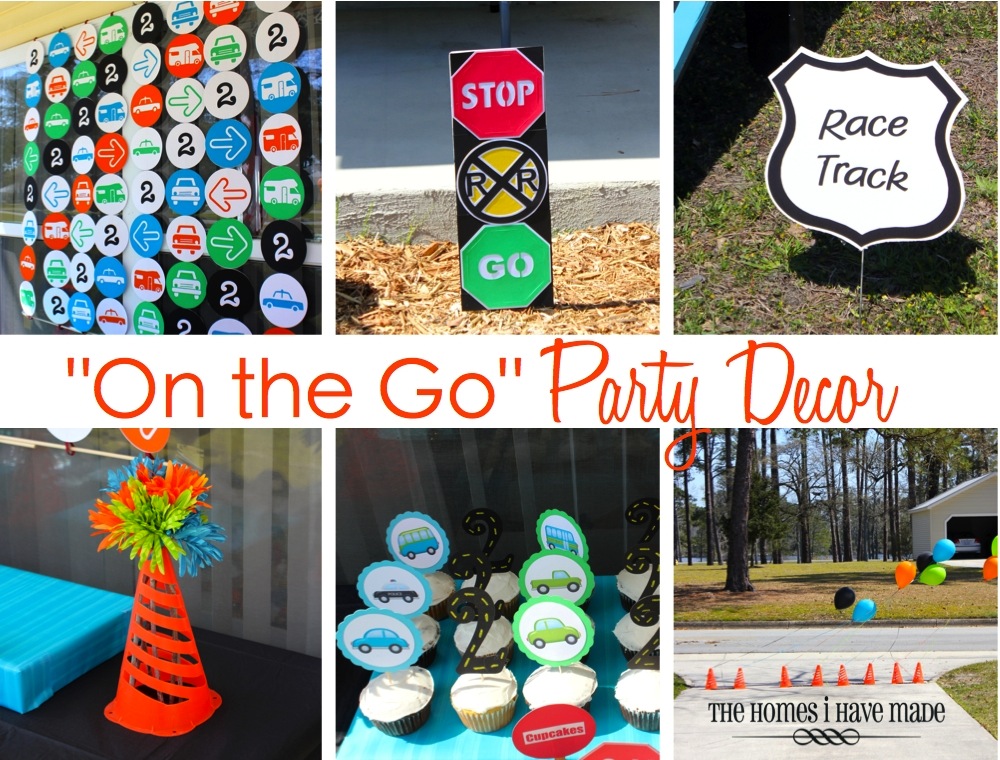
“On the Go” Party Decor
On Monday, I showed you all the photos from my Henry’s second birthday party (if you missed the big party reveal, you can read it HERE!). Today, I wanted to go back and talk in a little more in detail about some of the decorations I made/collected for the party!
Even though my little guys is obsessed with Thomas the Tank Engine and all the auto-characters from the Disney Cars movies, I chose to do a more “generic” On the Go-themed party – I know, I can be a lame Mom! I couldn’t really decide if I wanted to do just cars or trains or “all-things transportation” or “trains, planes, and automobiles.” Then, when I found this digital elements kit, I knew this was the exact direction I wanted to go!

(source)
I used a combination of this digital kit along with the Going Places Cricut cartridge to make all of my decor.
The first thing I created for this party was the invitation! I used the On the Road Kit elements in My Digital Studio to create the invitation:
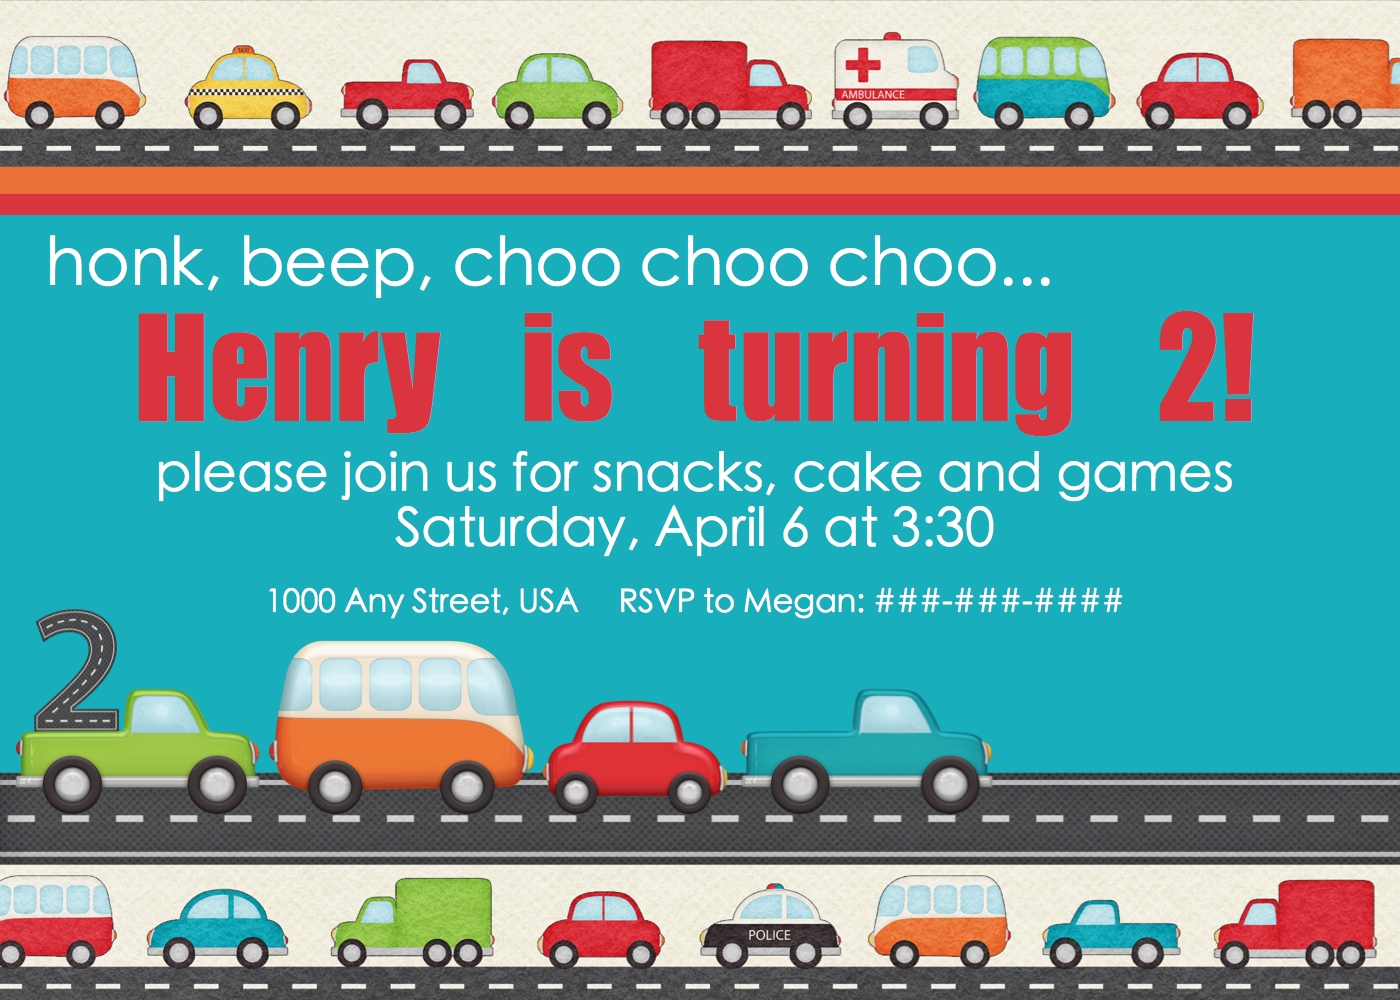
To make it a little extra special, I printed these out on white cardstock, then mounted them to colored card stock. I then printed a sheet of Interstate signs…

…cut out each one individually, and attached them to the invitation with dimensional stickers. Here’s the final invite that went out to each guest!

With the invites out and the RSVPs coming in, I got to work on the actual party decor. As I was working with all the elements from the On the Road Kit, I realized it was almost the exact same color scheme as Henry’s Monster of a First Birthday Party last year! What luck! Since I could re-use a bunch of the decor items I purchased for that party, I just needed to make a few new things to update the theme for this year! I swapped out the red for black and all the monsters for cars, and we had a whole different feeling for the party!
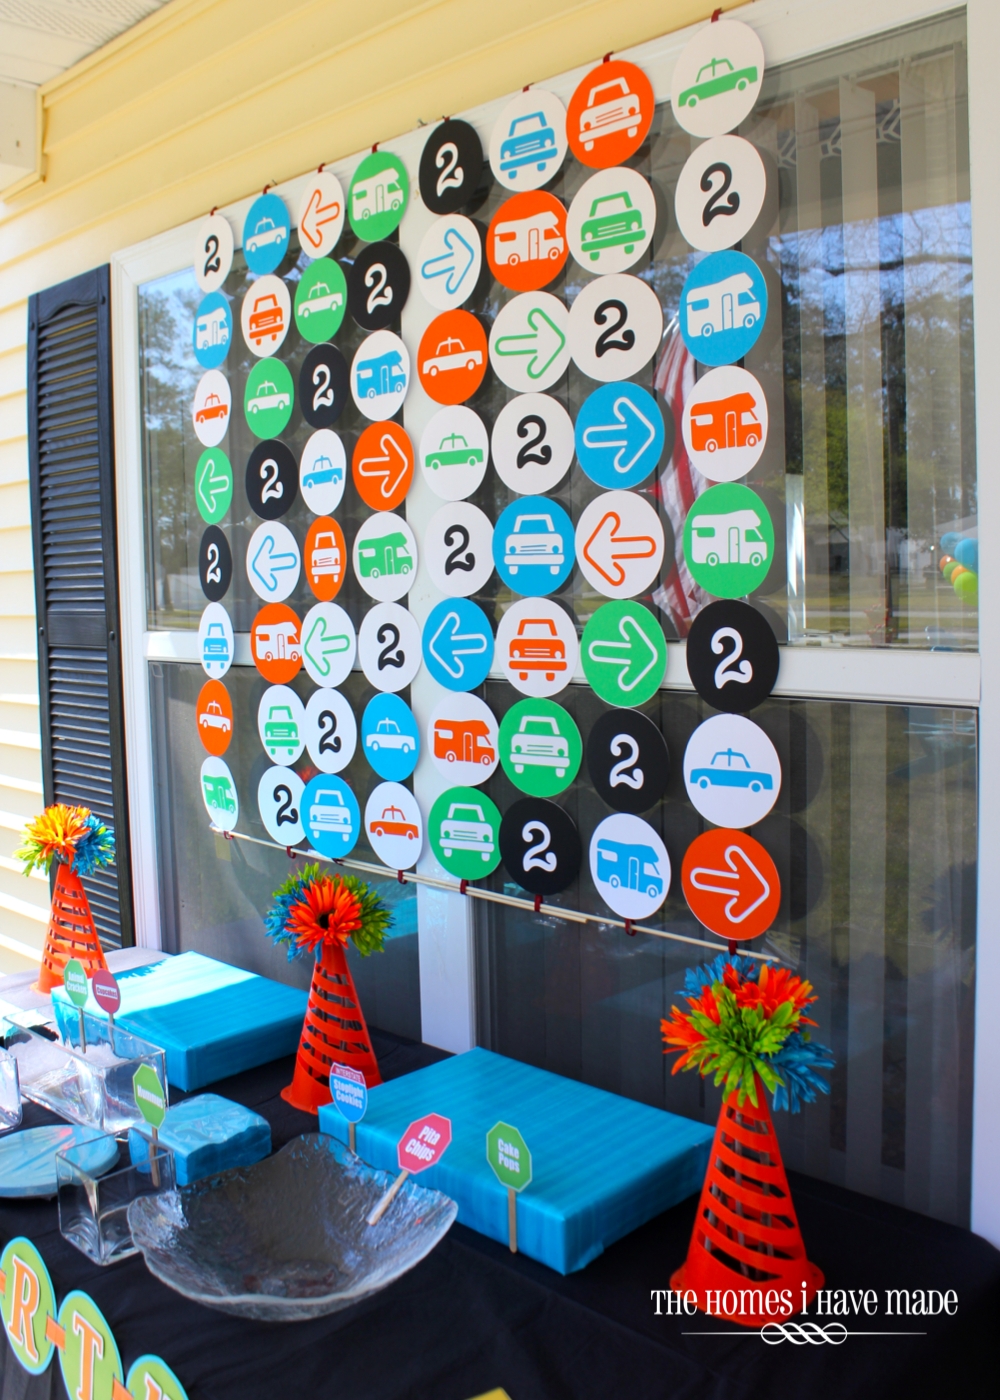
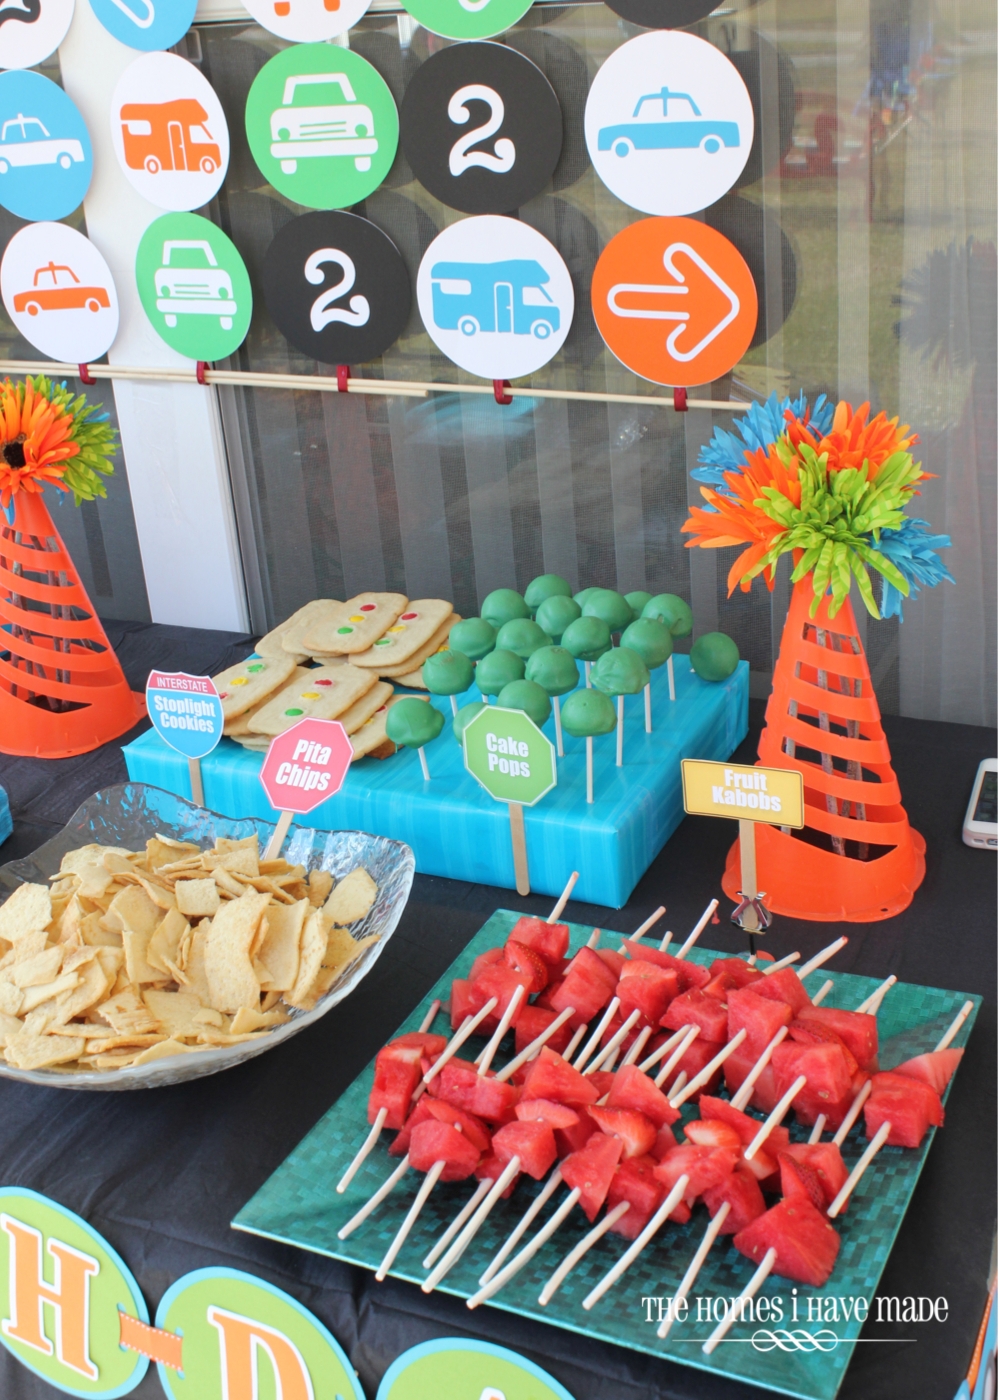
The main decor item I made for this party was the circle backdrop:

Shame on me, I didn’t take pictures of the step-by-step, but it wasn’t too difficult and you can probably figure it out from the photo. I cut out 4 images (the bus, the taxi, the car, and the arrow…all with a circle around them from the Going Places Cricut cartridge) in each of my four colors. I cut the set twice, giving me 8 circles in each color. I then used the “relief” cut (what was left behind from the solid color cuts) and mounted those extra buses, taxis, cars, and arrows to white circles, giving me four more sets of 8 circles. Lastly, I did the same thing with the black #2s. I’m not sure that made sense…it wasn’t a ton of cutting or a ton of paper because I used both the cutout and the circle image from each cut, does that make sense? I made my backdrop a perfect square: 8×8 since I had 8 circles in each color. I then laid out my circles so that the stripes ran diagonally. Each circle was hot glued to a string of ribbon (eight strings of ribbon for the eight vertical panels). Then each ribbon was looped at the top and bottom (with a glue gun), and wooden dowels from the craft store were inserted horizontally. The wooden dowels on the top were then nailed into the top of the window frame for hanging; the bottom dowels just provided weight to keep the whole backdrop straight and together.
Phew! I hope that made sense!
I used the same Going Places cartridge to make some simple “stoplights” for the garden. These are cardstock cutouts glued onto foam board and stuck in the grass with kabob stakes 😉

Each activity for all the kiddos was also “labeled” with Interstate signs. I cut a cardstock template using the Going Places cartridge and traced the sign onto white foam board. Once the signs were cut out with an Exacto knife, I cut black letters (using the Printing Press cartridge) and glued them on. These are also held into the ground using metal kabob stakes!

We wanted to keep the driveway free of cars so there was plenty of room for the kiddos to roam around. To block off the driveway, we used some mini cones (that we already had in our sports gear stash) to hold down some colored balloons! Had the wind not been blowing (the WHOLE afternoon!), it would have created a nice little balloon barrier. Too bad it looked like this all day 😉 Oh well, still kept visitors from parking in the driveway!

Speaking of mini orange cones, I also used them to create some super simple table centerpieces for the food table! These bright flowers were leftover from the Monster Birthday Party and were purchased at Hobby Lobby last year. I saw them there recently, so I know they still carry them if you’re looking for them. With everything I made for this party, these were my favorite. Nothing crazy or fancy or difficult, but they just made me smile!

One of my favorite tricks for setting a great looking party table is to keep all the serve-ware simple and color-cooridnated. Because my table cloth was black, I opted for clear dishes and turquoise platters. Now, I don’t run out and buy colored platters for every party I host! My secret: wrap shirt boxes (the lids and bases separately) in party-coordinated wrapping paper! Not only is it really cheap, but provides some neat, disposable surfaces to display food!
See what I mean?
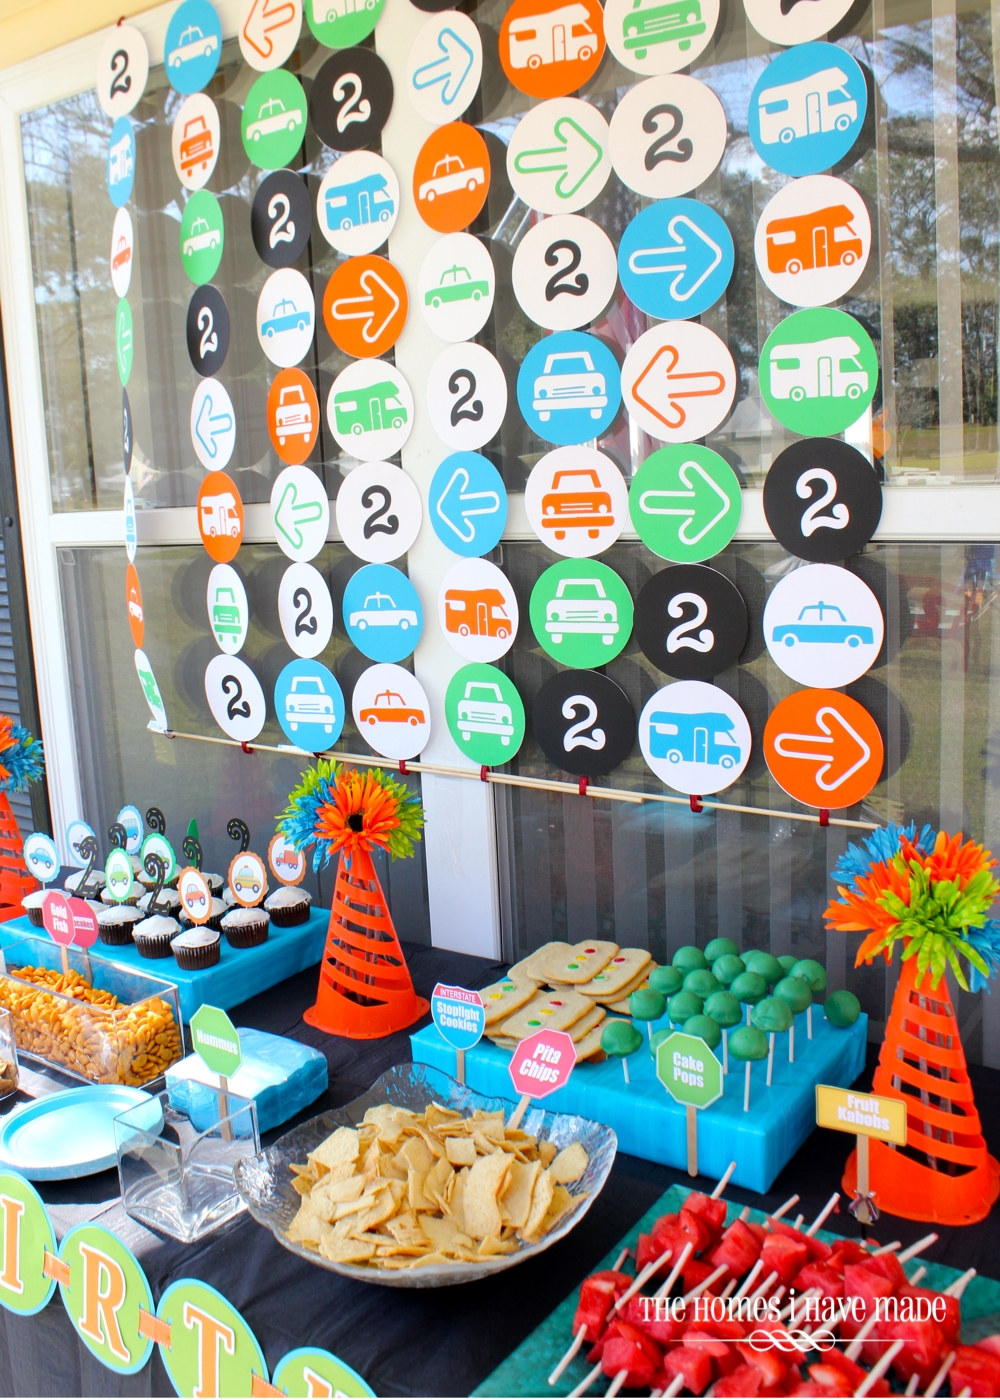
Some other little crafts I did for the party were for the food and drink tables! Again, using images in the On the Road Kit, I made street sign labels for all the foods.

These were just printed on cardstock, cut out, and then hot glued to popsicle sticks. They are all held to their serve-ware with clear packaging tape!
I also used the car and truck clipart to make cute cupcake toppers! The images were printed and cut from white cardstock; the colored backings were cut using the Cricut. The number “2s” were cut using the Cricut and then given “street” lines using a yellow paint pen.

Over on the drink table, I made a large “Fuel Station” sign, again using the Going Places Cricut cartridge. The frame is one from my stash, I just covered the glass with the same wrapping paper as the boxes for the food table!

I made a similar sign for the favor and gift table:

The last craft I did for this party were the little favors for both the adults and kiddos! I got the idea HERE. I thought these would be quick and simple…um…they weren’t! Of everything I made for the party, these probably took the longest! I didn’t want to use the Cricut (because it was nap time and it tends to wake my little guy up!), so I cut all the circles from paper bags by hand and stamped them as I went. I then found that it was easiest to actually FILL the little pouches right on the machine, so I would sew 3/4 of the way around, poke the M&Ms in, then finish sewing them shut. I made about 35, and they seemed to have taken all.night. They sure were cute though, and people happily took them for a snack on the way home!

Lots of fun little projects and details went into this party. Besides the candy pouches, nothing seemed to take a ton of time since I spread out my party prep over a few weeks. I’d cut things one night, glue together the next, etc. Although it seems like a lot of little things, they were all fun projects to work on that came together rather quickly. It was actually nice to step away from the home decor crafting that has been occupying my time for the last 7 months to work on some smaller, simpler crafts!
I hope you all have a great weekend! Next week, I want to show you a few more details from this party before I get back to some fun furniture reveals! Stay tuned!
Megan
