Ideas for Decorating Wall Plaques – Striped Word Art
It’s Friday! I know I don’t usually post toward the end of the week, but I wanted to share my final tutorial as part of my Ideas for Decorating Wall Plaques series!

If you missed the other tutorials, you can read them here: Fabric Monogram and Stenciling with Glitter. Today’s tutorial is the easiest of the lot. I’m going to show you how to make this plaque:

Here we go!
Here are the materials you need to make your own:

1. Same as the other plaques, before you get painting, clean your plaque. Remove any tags and labels or sticky residue, and sand any rough edges.

2. Paint a base coat. Using plain ol’ acrylic craft paint and a brush or sponge, apply a nice, even coat of color to your board. Let dry, and repeat 1 or 2 more times. Let dry thoroughly before continuing.

3. Apply tape. Apply strips of painter’s tape to create your stripes. You can make these any distance apart you like…but to avoid measuring (I’m lazy that way), I simply used the width of my tape as the width of my stripes (I had an extra length of tape that I put down to “measure” between each stripe and removed it as I went…does that make sense?). Really press down and make sure your tape is secured to the plaque (including all the groves down the edges).

4. Paint contrasting stripes. Using a complimentary color, paint all your exposed surfaces (including the edges) with a brush or sponge.
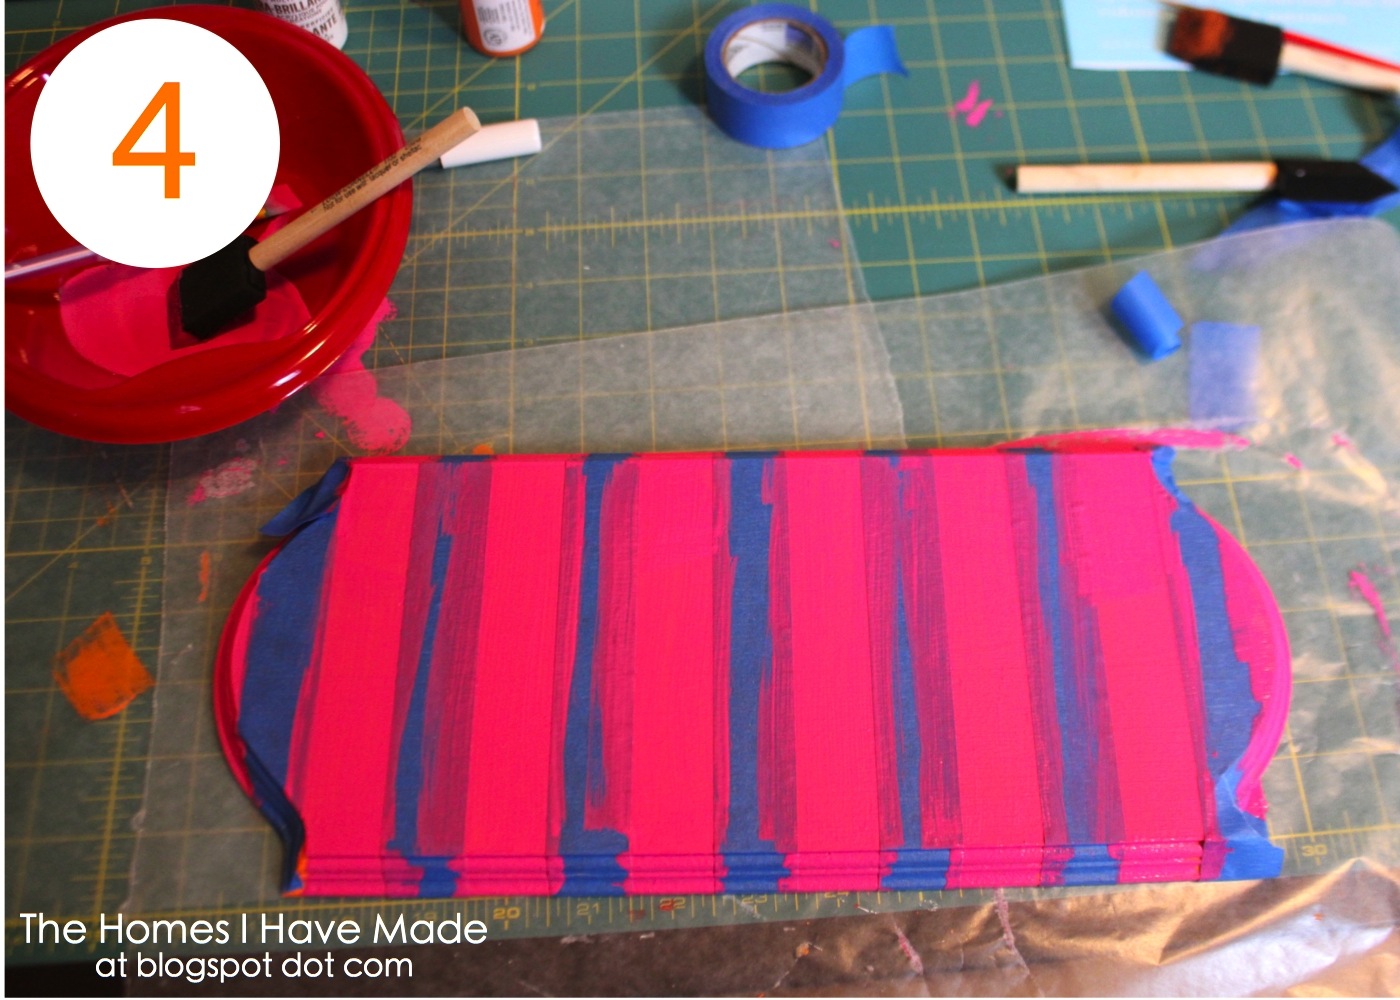
5. Remove your tape. Before your paint is completely dry, go ahead and remove your tape. Despite my efforts, I still ended up with some messy spots, so I went back and touched them up by hand!

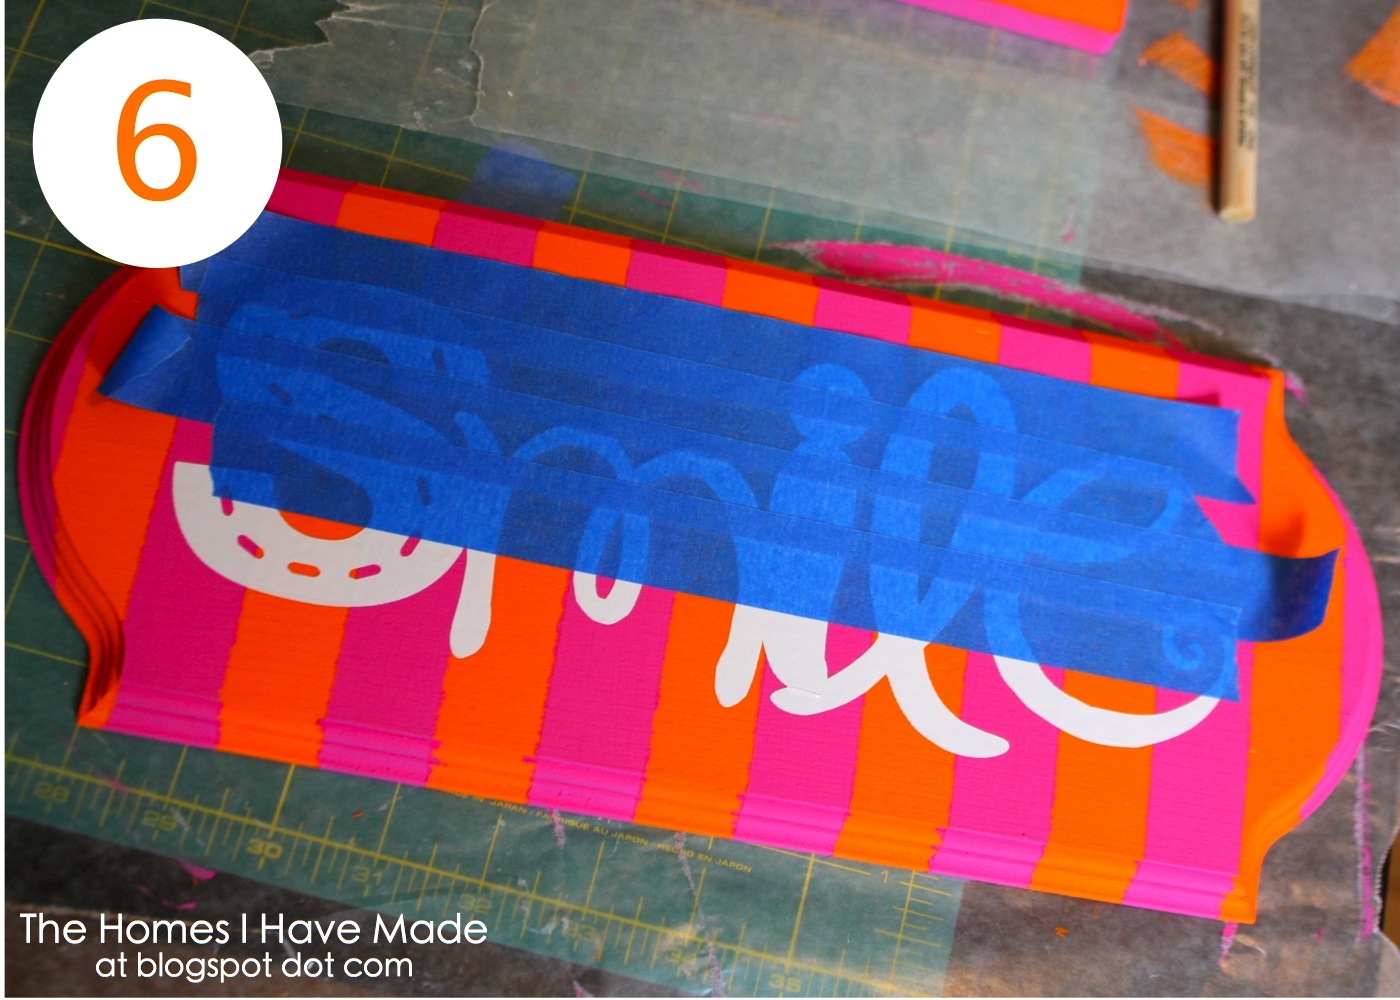
6. Cut out a word from vinyl. I used my Cricut and the “smile” image on the Mini Monogram cartridge for my plaque, but you can use any method (including free hand!) to generate letters, a phrase, or an image!. Once cut from vinyl, use transfer taper or painter’s tape to apply the image evenly and smoothly to your plaque!
All done!
I really hope you’ve enjoyed these quick tutorials. These plaques were really fun to work on and get creative with my supplies and methods! I ended up giving all three as a birthday present to my niece (for her new room), and it was really fun to see her reaction! These would make great gifts and/or a fun addition to any nursery, gallery wall, entry way or office space!

Hope you have a great weekend!

I am linking this post to:


See You Soon!
Megan
Megan

3 Comments on “Ideas for Decorating Wall Plaques – Striped Word Art”
Lovely! I am definitely going to have to try this. Just started decorating my office and this would be a great solution for my walls.
Cute! You should link this up to the CSI project this week and I would love for you to do a tutorial in July for the CSI project. You can see the challenges on the blog and email me to sign up. I would love to have you on the blog.
http://www.thecsiproject.com
[email protected]
Beautiful wall plaques ideas, all colours are well matched. The stripe impression is really attractive.